Fur and Feathers: How an American Mystical Creature Found Its Way to My Studio
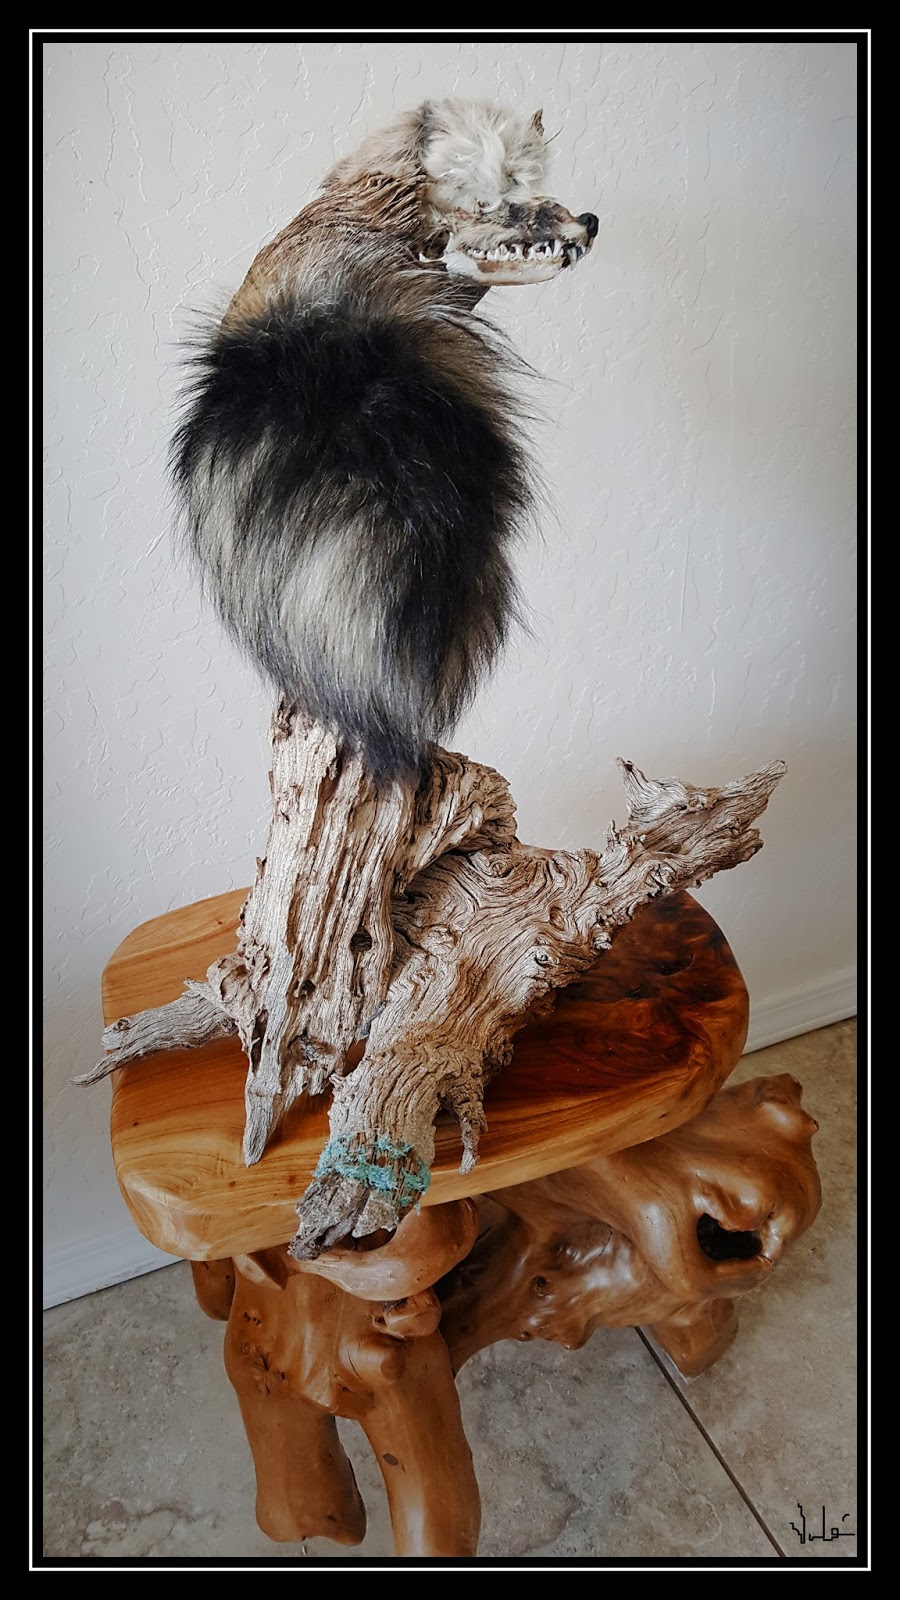
I designed my first Jackalope a few weeks ago (https://vaheark.blogspot.com/2020/01/jackalope-mystical-animal-of-american.html)
and got very constructive feedback from viewers in the U.S. Of course the Jackalope
is an American mystical animal so the local feedback was expected.
One comment was intriguing as the viewer suggested that the
roundness of the tree cut did not harmonize well with the pointed, vertical
position of the Jackalope’s ears and its adopted antlers. So, I embarked on changing
proportions and orientation with a new project.
I had an old set of deer antlers attached to the skull bone.
These came from the desert and were sun bleached for a number of years. Both
the skull bone and the antlers were chalk-white and I had not figured out what
to do with them.
So, since the old antlers are mostly calcium carbonate and
some phosphorous, then these should be receptive to polyphenols such found in coffee,
tea and wine. Often called tannins, these will stain bones (and enamel of
teeth) into an orange-yellowish colour. Since I wanted to rejuvenate the
antlers, I decided to rub them with fresh dark coffee grounds.
There is no magic in the process. Before modern chemistry
gave us the synthetic colours for colouring, textiles, bones, clay and wood
were stained with “natural ingredients” from plants, seeds, walnut shells, dirt
rich in clay, and animal pigments. Perhaps
the most majestic of them all is the dye from the Murex sea snail that dyed royal
garments in the Tyrian red or Phoenician purple. Being in the desert far from
the sea, I opted for polyphenols.
Here are the antlers and the skull bone before:

and after rubbing the antlers with coffee grounds. The yellow
shine is back, it looks smoother and younger.

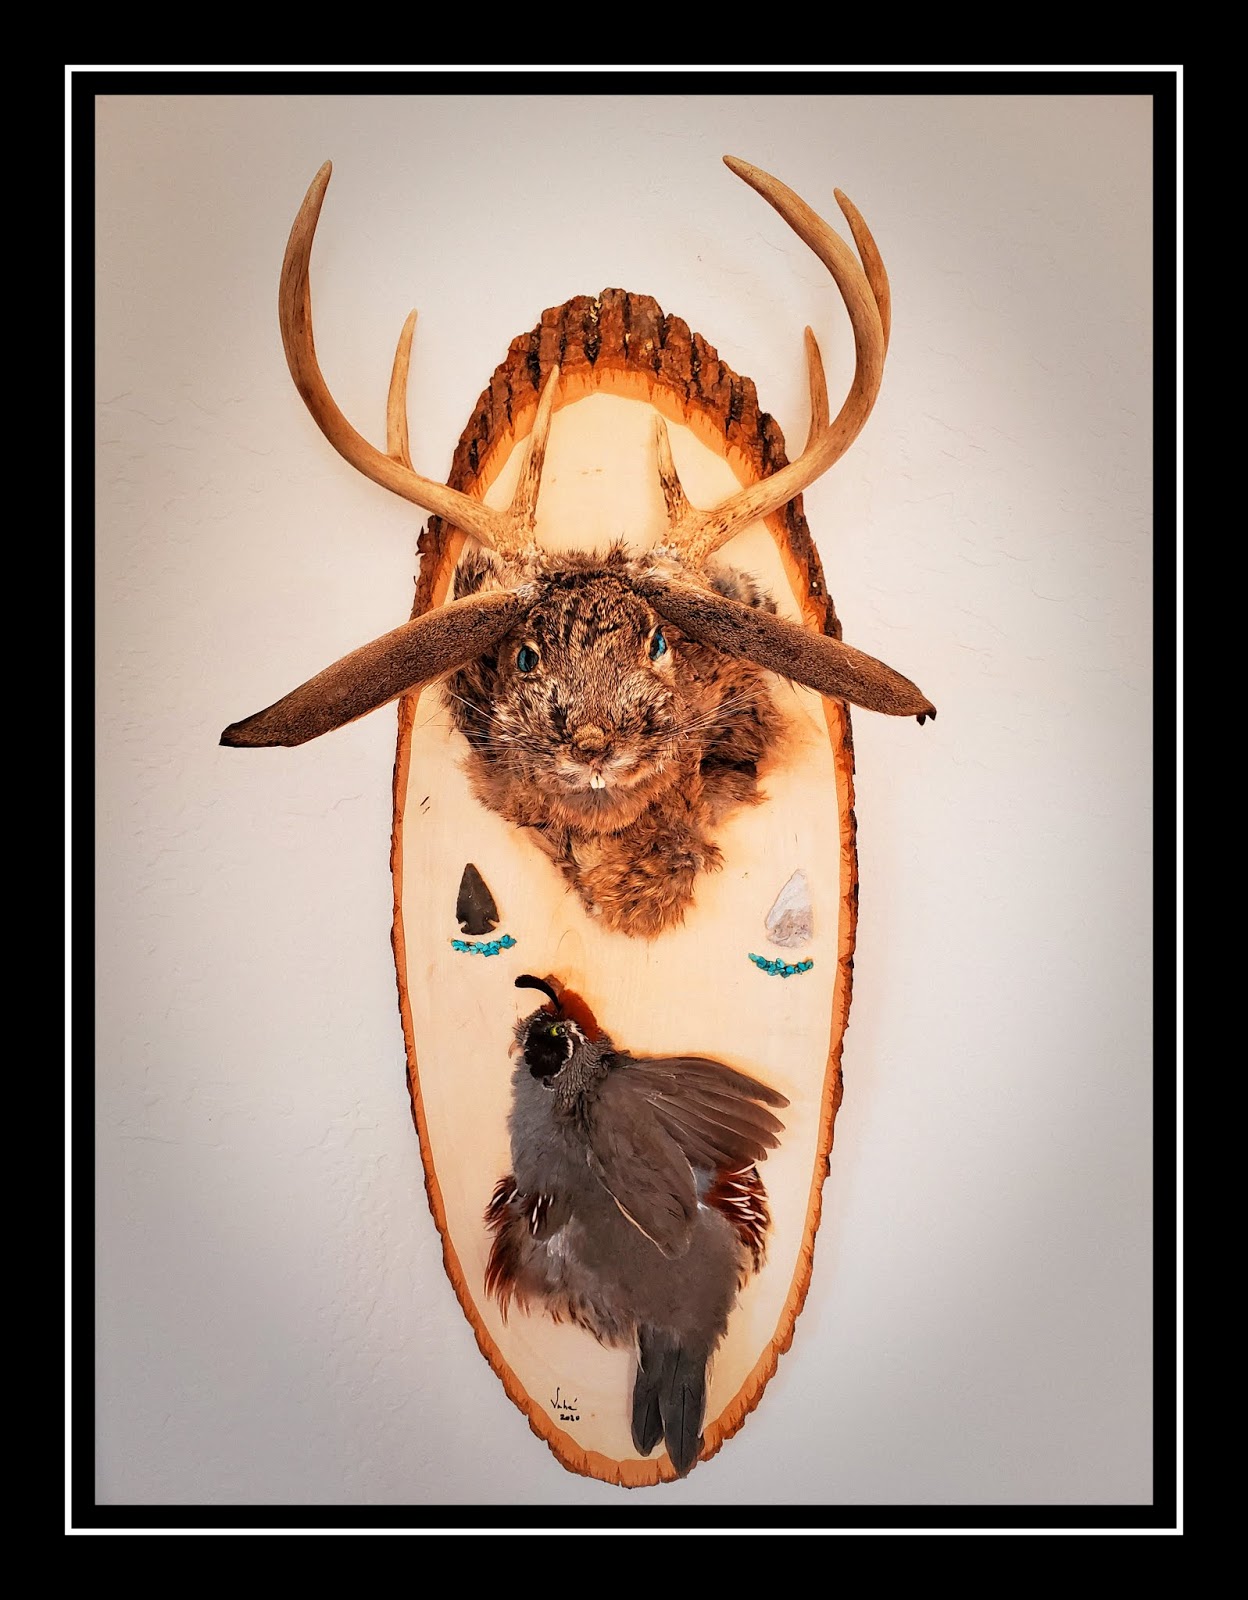
Next, I decided to “dress cover” the skull bone with the
skinned head of a jackrabbit. With carefully cutting the skin I was able to
cover most of the skull bone. I stuffed the head with polyester fiber to give it
the natural shape of a hare’s hare, and with the body fur of the jackrabbit I
covered the bare skull bone sections. Then
I fixed the Jackalope head to the oval wood cut.

The challenge now was in having an oval, compared to the
previous round woodcut, AND pointed ears. Sure, the deer antlers were rounder
and more imposing than the roe deer antlers I previously used, but something
needed to be done to contrast the now even more accentuated elongated forms.
The answer was in the ears!
The few Jackalopes I have seen in bars and the many photos
on the Net all have the jackrabbit with the ears up as they are often in
nature. But not always. When jackrabbits hide under a bush, they get their body
as close to the ground as possible and fold their ears on their backs. Of
course, a mystical animal like the mighty Jackalope will not hide and will
always have his ears up!
So, I opted for a new appearance metamorphosis by
neither having its ears up nor folded on its back. Instead, have the ears in a neutral
position, a little bit like the blades of a helicopter resting on the ground.
And suddenly I had the upright roundness of the deer antlers, the oval form of
the wood board, and the horizontal posture of the ears to result in a holesum tri-dimensional
configuration.
Of course, I have a propensity of using blue glass taxidermy eyes to give a new identity...

But, while I seemed to have addressed the viewer’s comment, the
oval form left a lot of empty and rather narrow space. And that is when I
remembered the quail feathers I had preserved but never used.
Here is the story: I have seen pheasant feathers preserved
on the skin of the pheasant not by plucking them. In other words, just like one would skin a
deer, and elk or a jack rabbit, it is possible to skin a bird to keep all its
feathers in their natural position. Just like one keeps the fur on a rabbit
skin. Then when the skin is preserved, the pheasant feathers can be used in
artwork undisturbed from their original arrangement. This can be very beautiful,
as I have seen an entire pheasant being incorporated in stain glass work.
But compared to rabbit or deer skin, a bird’s skin is very
thin, and skinning a quail requires patience, a soft touch and the acceptance
of frequent failure. Perhaps it was for these very challenges that I had decided
to learn how to skin a quail and make it a two-dimensional form.
Here is the quail I chose to use – it has been salted for a
month and the skin fully dried:

While I had kept the head feathers of the Arizona Gambrill
quail intact, I did not preserve its beak. And here again, I improvised with a
nail that my puppy dog had shed and that I had found on the kitchen floor. Yes,
puppies do shed some of their nails and all their baby teeth…
Ok, after a green glass eye and the puppy nail en guise of a
beak, here is how my quail looked:

Now the wood board incorporated two of the most common and indogenous
desert inhabitants of the US Southwest.

What was missing was a bit of colour.
Two hand-carved but modern (non-historic) arrowheads and turquoise
stones were my last touch. I engraved the wood board to inlay the turquoise:

Et voilà – when I placed two jackrabbit incisive, the
metamorphosis was complete.
January 29, 2020
© Vahé A. Kazandjian, 2020

Comments
Post a Comment